Cold riveting is an age-old technique that continues to gain relevance in metalworking, woodworking, and leather crafting. It is a versatile and robust method that joins parts without the need for heat. Unlike welding, riveting provides a clean and professional-looking joint that may not need to be further processed. Whether you are working on a DIY metal frame or crafting a handmade leather belt, cold riveting is an excellent way to take your home projects to the next level.
This article will walk you through the process of cold riveting, the essential tools you need, and how to avoid common mistakes.
What is Cold Riveting
Cold riveting is a mechanical fastening process that secures two or more components together without applying heat in any form. It is different from welding or bolting operations. Cold riveting does not require high temperature or threading to function. This technique is easy to carry out and is more accessible for small to medium projects. It creates strong connections that resist vibration and loosening over time. Since you do not use heat, the materials do not warp or weaken when joined.
Furthermore, cold riveting is versatile and multi-purpose. You can use it with various materials, including metals, wood, and leather. This makes it indispensable in home repairs and crafts.
Tools and Materials Needed
There are some essential tools you must have to carry out a professional riveting operation at home. Irrespective of the workpiece material you are working with, the following tools are indispensable.
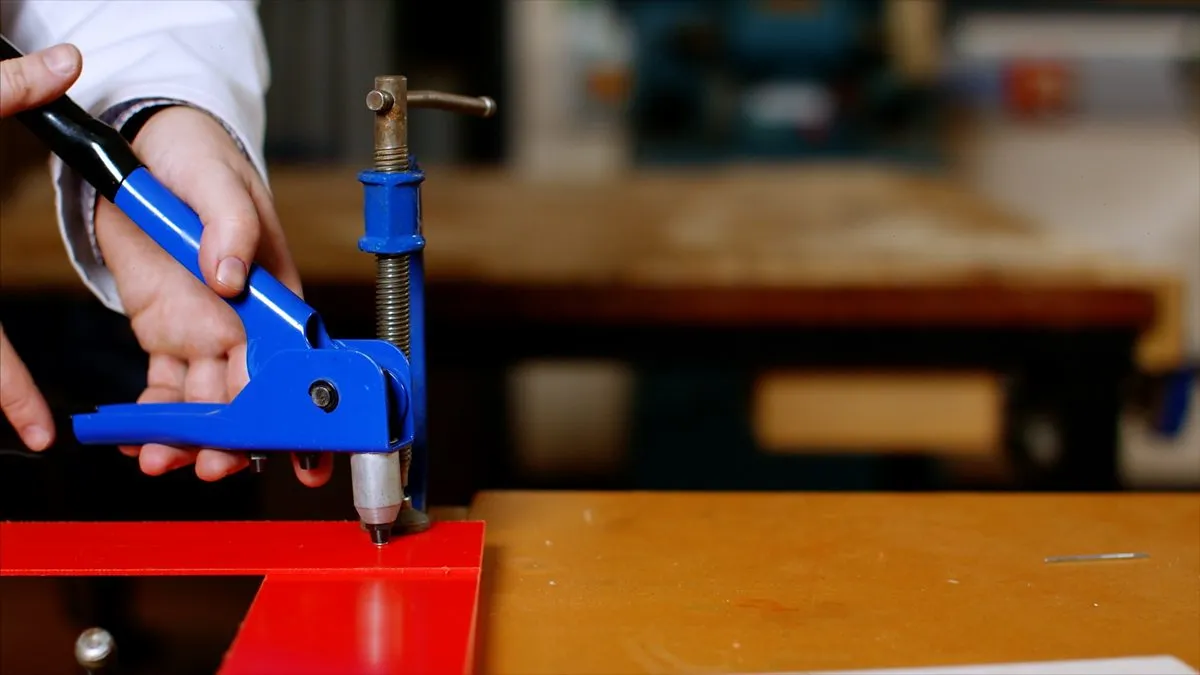
Rivet Gun
You use rivet guns in situations where one side of the workpiece is inaccessible. They are also important when installing certain types of rivets, like pop rivets. There are different classes of rivet guns available. The most common are manual, pneumatic, and battery-powered rivet guns. Manual rivet guns are ideal for small DIY projects and home repairs. They are cost-effective and straightforward to use.
Anvil
Anvils act as a support system during cold riveting. They are metal blocks that keep the workpiece stable by providing a solid backing. Anvils prevent movement and ensure the rivet deforms appropriately. Additionally, these tools ensure proper force distribution so the rivet seats well. The small bench anvil is popular for DIY settings.
Drilling Tool
You have to create holes before inserting rivets inside them. This is where drilling tools like a hand drill, drill presses, and dremel come in.
- Hand drills are portable and easy to use for DIY projects.
- Drill presses are more accurate and suitable for high-precision work.
- You use dremel for small holes and delicate applications.
Rivet Set
The rivet set is the tool that shapes and finishes the head of a solid rivet. It ensures a smooth and professional finish. Rivet sets form the fastener’s tail into a proper mushroom shape. To use this tool, you hold it over the tail and use a hammer to strike the tail. Flat rivet sets are the most common for smooth finish.
Bucking Bar
A bucking bar supports the rivet’s factory head as you hammer the tail into shape. It absorbs impacts and ensures even deformation of the rivet. Bucking bars are usually made of steel or tungsten. Steel bucking bars are heavy and ideal for strong metal riveting. On the other hand, tungsten bucking bars are smaller and will not strain your hands during use.
Safety Gear
This covers all equipment you need to keep yourself safe during cold riveting. Safety gears are crucial because this operation involves hammering, drilling and metalworking. Examples of critical safety equipment include
- Glasses and goggles to protect the eyes from metal shavings.
- Earplugs that reduce noise exposure.
- Gloves to prevent hand injuries from sharp metal edges.
- Respirators to avoid inhaling dust and particles.
Step-by-Step Guide to Cold Riveting at Home
Cold riveting is a simple yet effective method for joining materials. You can use it when assembling components, repairing parts or creating a DIY project from scratch. Let’s look at five easy steps on how to carry out cold riveting from the comfort of your home.
Step 1: Preparation
The first step is to prepare to achieve the best results adequately. This involves gathering the necessary tools and materials you will need. You should also choose the right rivet size based on the thickness of the materials you want to join. As a rule of thumb, multiply the workpiece thickness by 3 to get the correct rivet diameter. Furthermore, secure the workpiece with clamps to ensure stability before drilling.
Step 2: Mark and Drill the Rivet Holes
Mark the positions where you want to drill the holes. You can use measuring tools to get the exact spots. Create a slight indentation before you start the drilling process. Drill straight between the materials for perfect alignment. After that, deburr the holes and remove sharp edges around them.
Step 3: Insert and Form the Rivet
After getting a perfectly drilled hole, place the rivet and let it sit flush with the surface. Position the rivet set onto the protruding end of the rivet. Strike carefully with a hammer till it forms a domed-shaped or flat head. You can use a pop rivet gun instead of a hammer if you have one. Align the gun over the mandrel and squeeze it till it falls off.
Step 4: Check and Finish the Riveted Joint
After setting the rivet, inspect and finish it to ensure it is polished. Test the strength of the joint and consider re-riveting if it is loose. You should also remove any sharp edges around the rivet head using fine sandpaper. Furthermore, a protective coating should be applied to improve functionality and performance.
Common Mistakes and How to Avoid Them
Despite the simplicity of cold riveting, one can make mistakes if you do not carry out the process correctly. Here is a detailed breakdown of common mistakes in cold riveting and how to avoid them.
Drilling Misaligned Holes
One of the most frequent issues you may encounter during riveting is drilling holes that don’t align with the workpiece materials. It occurs when the parts are not correctly clamped or holes are drilled separately in each piece rather than simultaneously. To prevent this, drill all pieces at the same time. You should also consider using a drill press instead of a hand drill for more accuracy.
Over-Hammering
There is a tendency to over-hammer the rivet using excessive force. This can lead to cracks and weaken the joint. Over-hammering also causes material deformation and misalignment when working on softer materials. The best way to avoid this is to work slowly and gradually shape the rivet. Additionally, use the correct hammer weight to keep the force in check.
Using the Wrong Rivet Size and Type
A rivet with the wrong size will inevitably weaken the joint. A short one will not pass through entirely, while a longer-than-required rivet may bend when struck. Furthermore, the rivet type and material makeup also matter. Aluminum rivets are suitable for soft materials. On the other hand, steel rivets are a perfect fit for structural applications.
Skipping the Deburring Step
After drilling metal and wood workpieces, there is a tendency to get rough and jagged edges. These imperfections lead to weak joints as they cause cracks and stress points. Additionally, they may make assembly difficult. Hence, you have to remove burrs during cold riveting using deburring tools. This will produce smooth hole edges that will not block rivet insertion.
Unevenly Spaced Rivets
This happens when you are using more than one rivet to join parts. Unevenly spaced rivets can create unprofessional looks that affect aesthetics. In worst cases, it leads to structural weakness and part failure when in use. To do it right, mark your rivet positions before drilling. Ensure even spacing between rivets and confirm correct spacing before installation.
Not Securing the Workpiece Properly
Another mistake one can likely make is not correctly securing the workpiece. This can lead to misaligned holes when the parts shift while drilling and uneven deformation during riveting. Additionally, the rivet may not set fully, causing loose joints. You have to use bench vices or c-clamps to hold the workpiece firmly and prevent unwanted movements.
Conclusion
The use of cold riveting in sheet metal fabrication is nothing new. This technique has been around for years and continues to evolve. Mastering this skill is a game changer whether you are working on metal, leather or wood. By selecting the right tools and avoiding common mistakes, you can create joints that are not only secure but visually appealing. This article has explained the basics of cold riveting and provided you with the knowledge to tackle a wide range of home projects.